
Made this white princess Gown for my 6 year old daughter for Halloween. It was a very fun and easy project, as I don't have to sew anything here. You can use a ready old gown for this project or if you know little bit of sewing and cutting , go ahead and make cute little dress for your daughter .
As I don't wanted to waste any of her gowns, I bought a less inexpensive fabric and cut them according to my daughter size gown. Before joining the fabric pieces, cover all the pieces with duct tape on one side of the fabric. Only make sure you are putting them on the outer part of the dress, other wise sometimes they mismatch and you have to do the whole thing again. some times it is very frustrating and you may leave the project in half. Because I went through this situation many times :(
Also try to put the duct tape crosswise as it gives a different look and good finishing to your dress. Once you finish putting duct tape on the fabric pieces, join the pieces using the duct tape on both the sides or you may also stitch the dress as it will be more secure to wear :-)

To make the Mask cut any kind of cardboard in the shape of an eye mask. Tape the duct tape on both sides. Roll the duct tape on any unsharpened pencil and tape it to the mask. To make the feather, tape any remaining fabric with duct tape and then cut it like a feather and tape it as shown in the picture
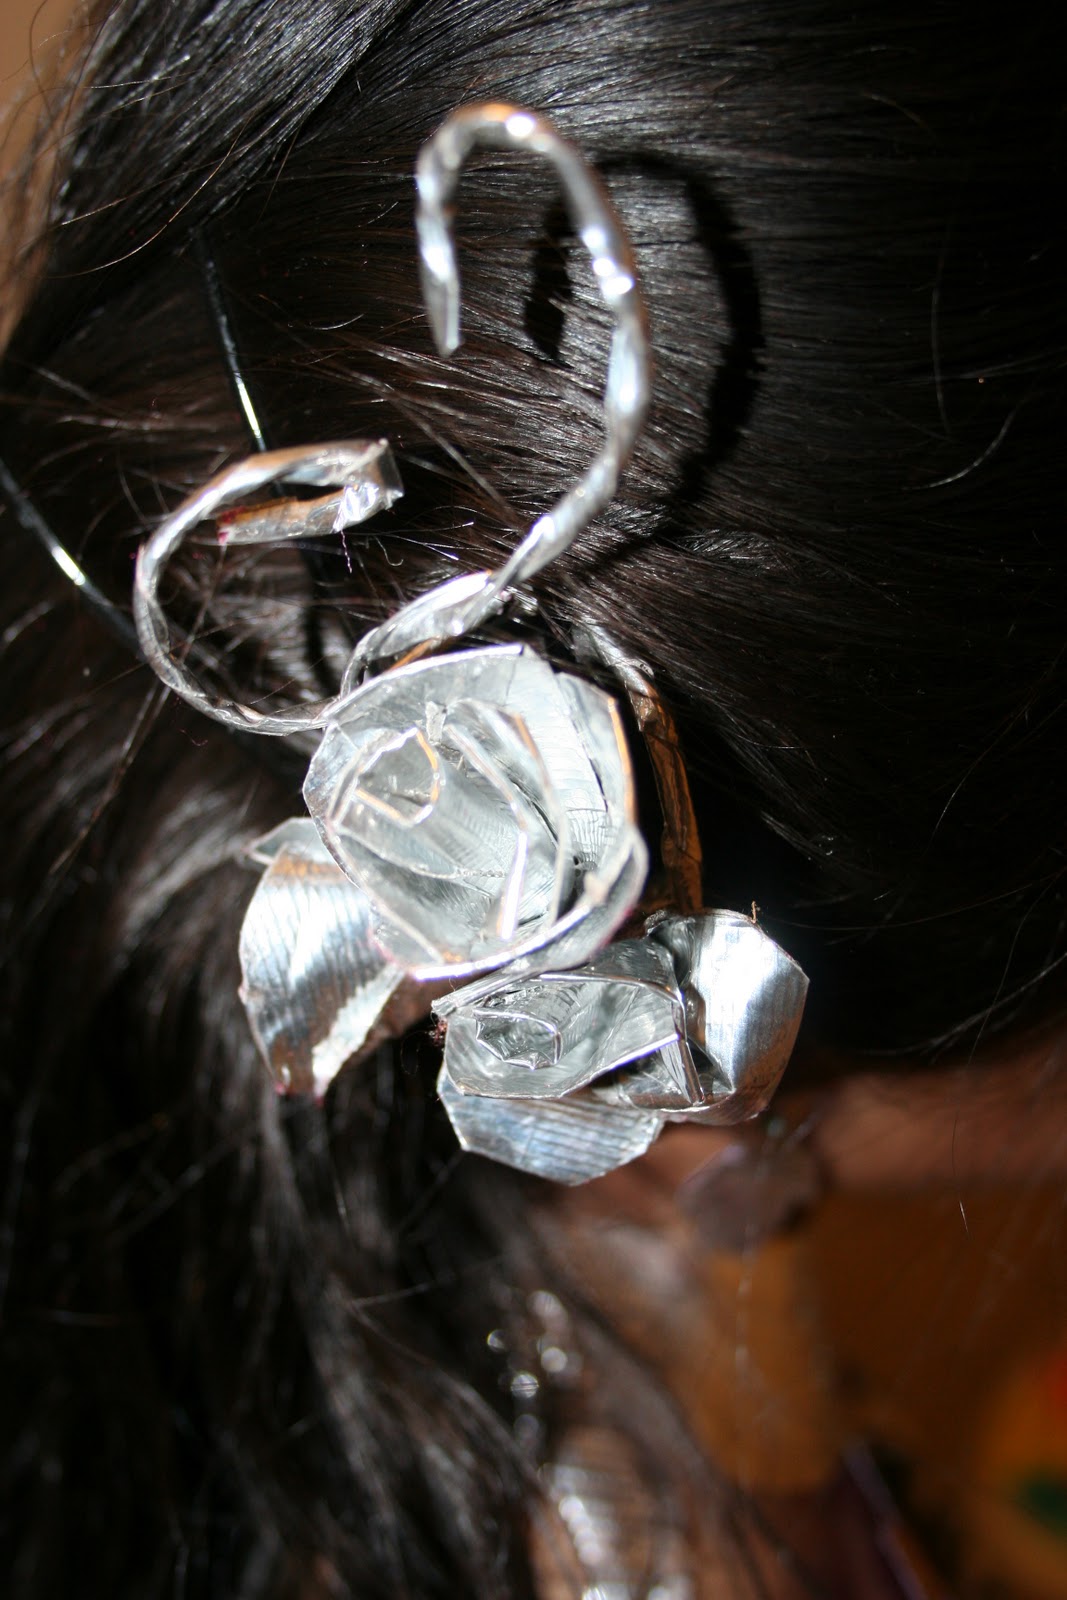
Making the Flower hair pin is very easy. If possible I will upload a video tutorial to make these flowers.You will also get many tutorials online. Keep exploring this beauty full world of craft.
Materials used for this project:
3 rolls of silver coin color duck tape,
1 black and white design duck tape,3 yards of cloth,
card board,
pencil for eye mask,
hair pin to hold the duct tape flowers,
small ear stud to hold the ear ring.